 |
 |
 |
This page last edited: 01 June 1999
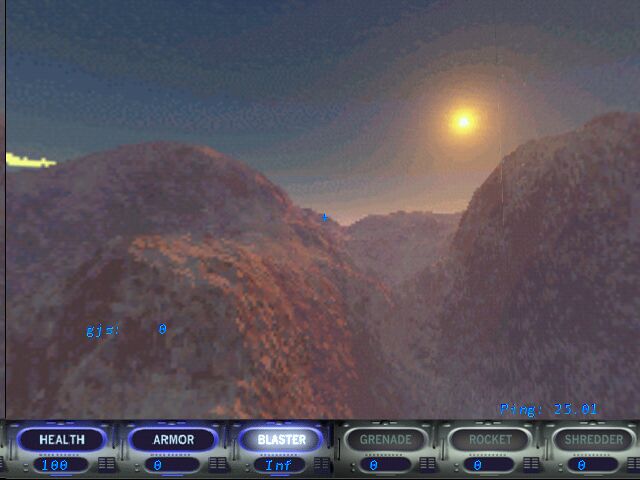
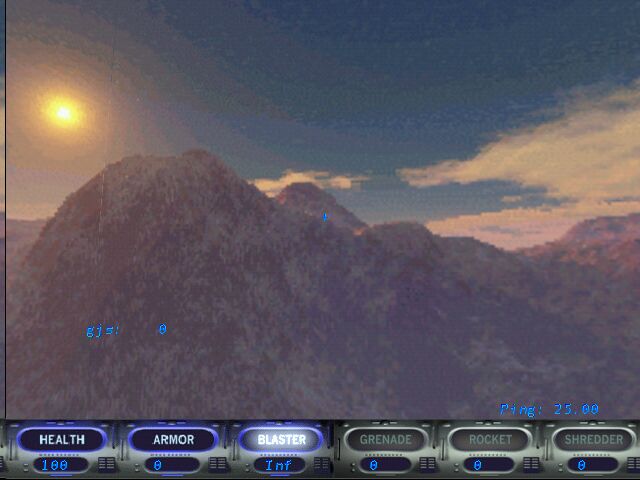
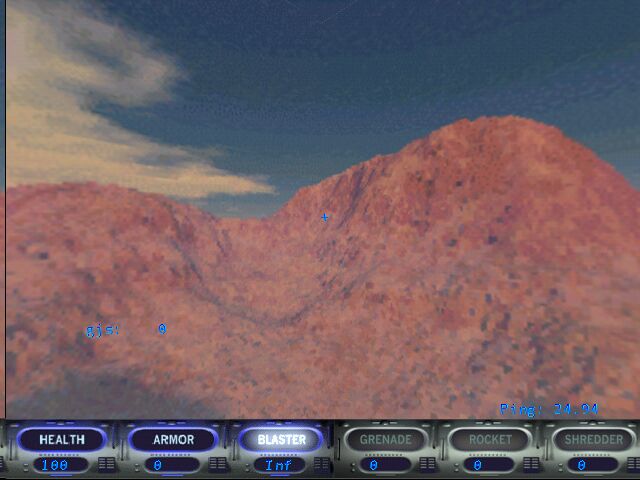
The freeware landscape generator Terragen is capable of producing very realistic images, and I wondered how easy it would be to import these into a Genesis3D application. I was quite impressed with the results, and how quickly it was possible to generate images, so this page documents how I accomplished this.
The map file these were taken from is here.
|
|
|
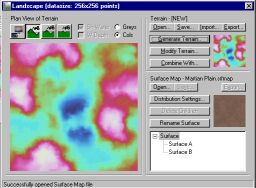 This isn't a tutorial in
Terragen. However, a few things worth noting:
This isn't a tutorial in
Terragen. However, a few things worth noting:
 This is very important,
especially the zoom function. Without these set correctly the
corners of the skybox don't meet.
This is very important,
especially the zoom function. Without these set correctly the
corners of the skybox don't meet.
The values for the camera are:
| Sky side | Head | Pitch | Bank |
|---|---|---|---|
| Front | 0 | 0 | 0 |
| Right | 90 | 0 | 0 |
| Back | 180 | 0 | 0 |
| Left | 270 | 0 | 0 |
| Top | 0 | 90 | 0 |
| Bottom | 0 | -90 | 0 |
Render each sky side then remember to save the file. Terragen saves directly from the screen at the moment, so the greater the colour depth your display is set to, the better.
Genesis requires the colours to be in 8 bit palletized form, so use your favourite paint program to convert them. Convert to 255 colours (not 256) otherwise you will get strange artefacts in your backgrounds. I usually use IrfanView, but it produces lines down the side of the image, so these were done with Microsoft Photo Editor. I'm not very happy with the results, and will try some others later.
Drop them into your .txl file using the Genesis utility TPack. They are now ready to be used in your level.