Using Images"At last!" I hear you say. "Pictures!". Yes, we finally get to add pictures to our document. Before you fill your documents full of graphics though, you should look at each one, and ask yourself WHY you want to add that particular picture or image to your document. Every image you add to your document makes the document larger, and will cause it to take longer to download from the web. Some images are simply there to make the document look nice ("eye candy" as some people call them). Some images may not be essential to understanding the content of the document, but help to illustrate it. And some images are essential to the document: without them, it would be difficult or impossible to convey whatever information you are presenting. The ones to watch out for are the "eye candy" pictures. There's nothing wrong with using images to "spice up" your documents, but you should try to find a balance between making your document look good, and making it quickly accessible for your users. You should also ensure that any images you use are as small as possible (in terms of the file size) so that they download as quickly as possible. Your users will be grateful! There are two ways to add images to your document: background images, and "in-line" images. Graphics for use in web documents should be in either GIF or JPG format. Note: A new file format is becoming increasingly popular - PNG. The newest versions of graphical browsers should support this format, but you should bear in mind that older versions don't. The popularity of this format has been fuelled by announcements by Unisys that they will require users of GIF files to be able to state that their graphics were produced using software which has been licensed to use the LZW compression algorithm, for which Unisys holds the patent, or to pay a 5,000 dollar site licence fee. While Unisys have stated that they don't intend to require this of personal website creators, some people are concerned about the possibility. The PNG graphic format doesn't use LZW compression, and so is being seen as a potential replacement for the GIF format. Background imagesA background image is one that lies "behind" the content of your document when it is displayed, and which is "tiled" to fill whatever size of screen the user is using. Because this sort of image lies behind the text of your document, it should be "quiet" enough not to make reading the text difficult. You define a background image by adding a BACKGROUND attribute to the BODY tag, specifying the file name of the image to be used. For example: <body background="bg1.gif">
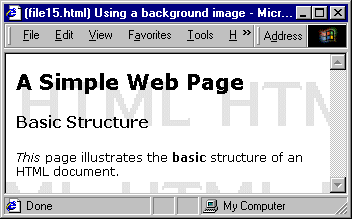
Here's an example of "file1.html" with a background image added (you'll find the HTML code and the background image for this in FILE15.HTML in Appendix A): Figure 17: Using a background image In-line imagesThe other way to add images to your document is to embed them in the body of the page. For example, if you are writing about a particular person, you might want to include a photograph of them alongside the text. To add an image as part of the body of the document, you use the "IMG" tag. There are several attributes that you need to know about with this tag. Here's an example of this tag: <img src="filename.xyz" height="xxx" width="yyy" alt="abc">
The IMG element has no closing tag. The attributes are as follows:
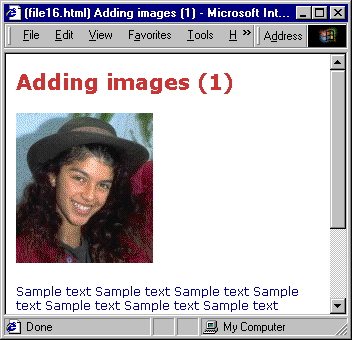
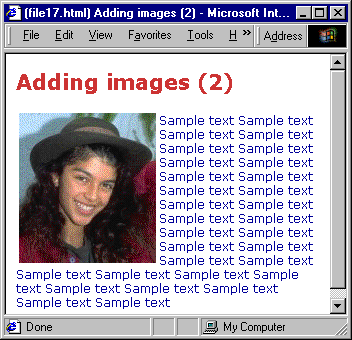
You can also use the ALIGN attribute with the IMG element, but it works rather differently to how it works with text. With IMG, it can take the values LEFT and RIGHT (there are a few other values, but we'll leave these for now, as they are less commonly used). If it is set to LEFT, the image will "float" to the left of the screen, and any following text will wrap around it to the right. If ALIGN is set to RIGHT, the image will float to the right of the screen, with any following text wrapping around it to the left. If ALIGN is not specified, the image will usually be positioned against the left margin, and any following text will start underneath it. Here is an example of an image which has no align attribute set. The HTML code and the photograph are in FILE16.HTML in Appendix A: Figure 18: Adding images And now the same page, but this time the image align attribute is set to LEFT. The only change is to the img tag, which now looks like this: <img src="photo1.jpg" width="137" height="150" alt="Photo of a girl's head" align="left">
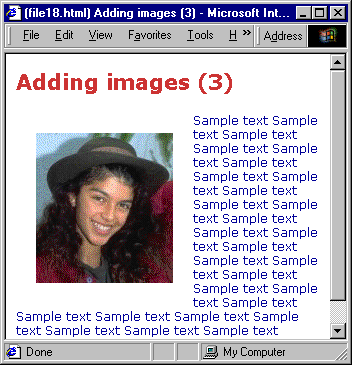
Figure 19: Floating the image to the left As you can see, the text sits quite close to the edge of the image. There are two more attributes, HSPACE and VSPACE, which can be used to specify a larger margin around the image. Both of these attributes take values in pixels. VSPACE defines the margin at the top and bottom edge of the image, and HSPACE defines the margin on the left and right side of the image. Here is the same file again, but this time with HSPACE and VSPACE set to 20 pixels each: <img src="photo1.jpg" width="137" height="150" alt="Photo of a girl's head" align="left" vspace="20" hspace="20">
Figure 20: Increasing the space around an image Using images as hyperlinksOne final point about images. They can be used as hyperlinks in exactly the same way as text. For example, if you have a page of photographs of people in your office, each photo could be a hyperlink to a page giving more information about that person. Simply enclose the IMG tag between the starting and closing A tags: <a href="aboutme.html">
Here, I've added another attribute to the IMG tag: BORDER="0". This prevents a border from showing around the image, which would normally happen as a result of making it a hyperlink. You can choose whether or not to let the border be displayed by setting the BORDER attribute to "0" to switch the border off, or "1" to switch the border on. |
|||||||||


